
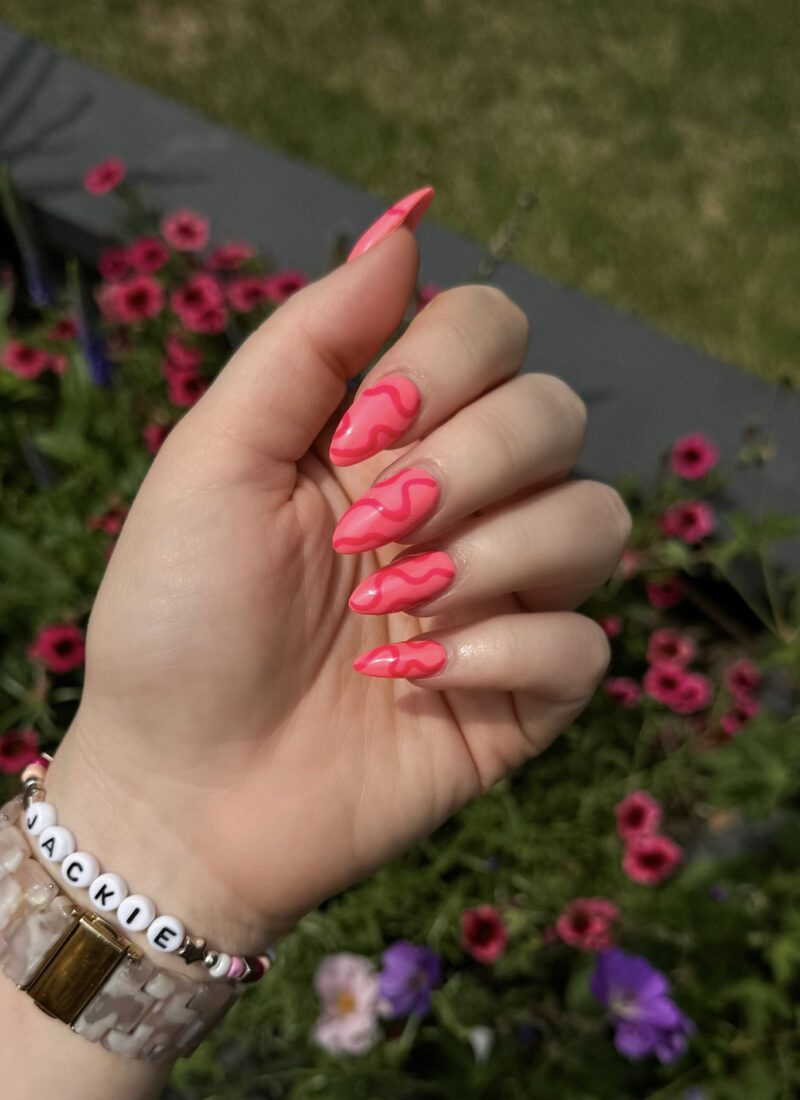
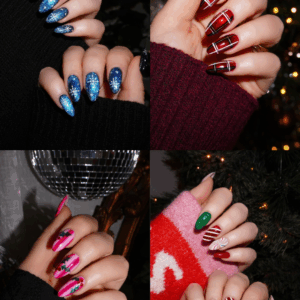
Just when I thought I’d never be able to top my peppermint swirl nails from a few years ago, I decided to lean into the Ralph Lauren Christmas trend and try out vintage inspired plaid nail art this year and completely fell in love!! The Ralph Lauren Christmas aesthetic is the biggest trend of the year and considering the sheer volume of holiday nails I’ve done throughout the years I decided why not lean into the trend and make red plaid nails my Christmas manicure this year.
If you haven’t gotten festive manicure yet this holiday season, hopefully these plaid nails will inspire you! There are a TON of nail art designs that are perfect for the holidays – snowflake nails, candy cane nails, ornaments, string lights (check out my Best Pinterest Holiday Nails post for more inspo!) – but a classic and festive nail design like red plaid will never get old.


How To Do Plaid Christmas Nails
While my nail tech did these particular plaid nails, I’ve done a plaid design on my own before, so I’ll break down exactly how you can recreate this plaid nail art yourself.
What You Need:
- Clear Base Coat
- Red Nail Polish – I love the look with a deep red hue with a cat eye finish, but red chrome nails or red cremes would also look amazing.
- Black, White, Gold & Silver Nail Art Polishes
- Clear Top Coat
Step 1: Apply Base Coat & 2 Coats of Red Polish
Like any other manicure, start with a nail strengthening base coat. I’m partial to Seche Clear Crystal Clear Base Coat, followed by 2 coats of your choice of red polish! I went with a darker red with shimmer for this manicure. But any red you choose will look amazing as long as it opaque and not a sheer color.
The key is to let the red polish completely dry before the next step to prevent any smudging.
Step 2: Paint Black Stripes
Now it’s time to start your plaid art! Once your red polish is dry, carefully paint 1 thin vertical stripe, 1 thick vertical stripe and 1 thin horizontal stripe on each nail. And let them dry completely.
Step 3: Paint White Stripes
Once your black polish is dry paint 2 thin horizontal stripes on each nail. (Don’t worry that the black polish goes over the white on one side you’ll fix that later)
Step 4: Paint Silver and Gold Stripes
Lastly paint one thin silver and gold strip on each nail to complete the plaid pattern.
Step 5: Touch up any Stripes & Apply Top Coat
Once the pattern is done you can go in and touch up any lines that may need it. Then make sure your design is COMPLETELY dry before applying a top coat to prevent any smudges.

I guess I’ve never tried to do a plaid manicure before because I thought it would be too difficult. But I couldn’t have been more wrong! Once I figured out the pattern I wanted to create, it was SO easy! The KEY is to use nail art polishes (the kind with thin, long brushes) to create the design and a little bit of time! And if you still don’t think you can recreate this winter nail art on yourself, but are craving a holiday manicure any number of talented nail artists can recreate it for you this time of year!
Looking for more Holiday inspiration? I’ve got you covered with makeup, decor, outfit and also gifts HERE!


These came out great!