
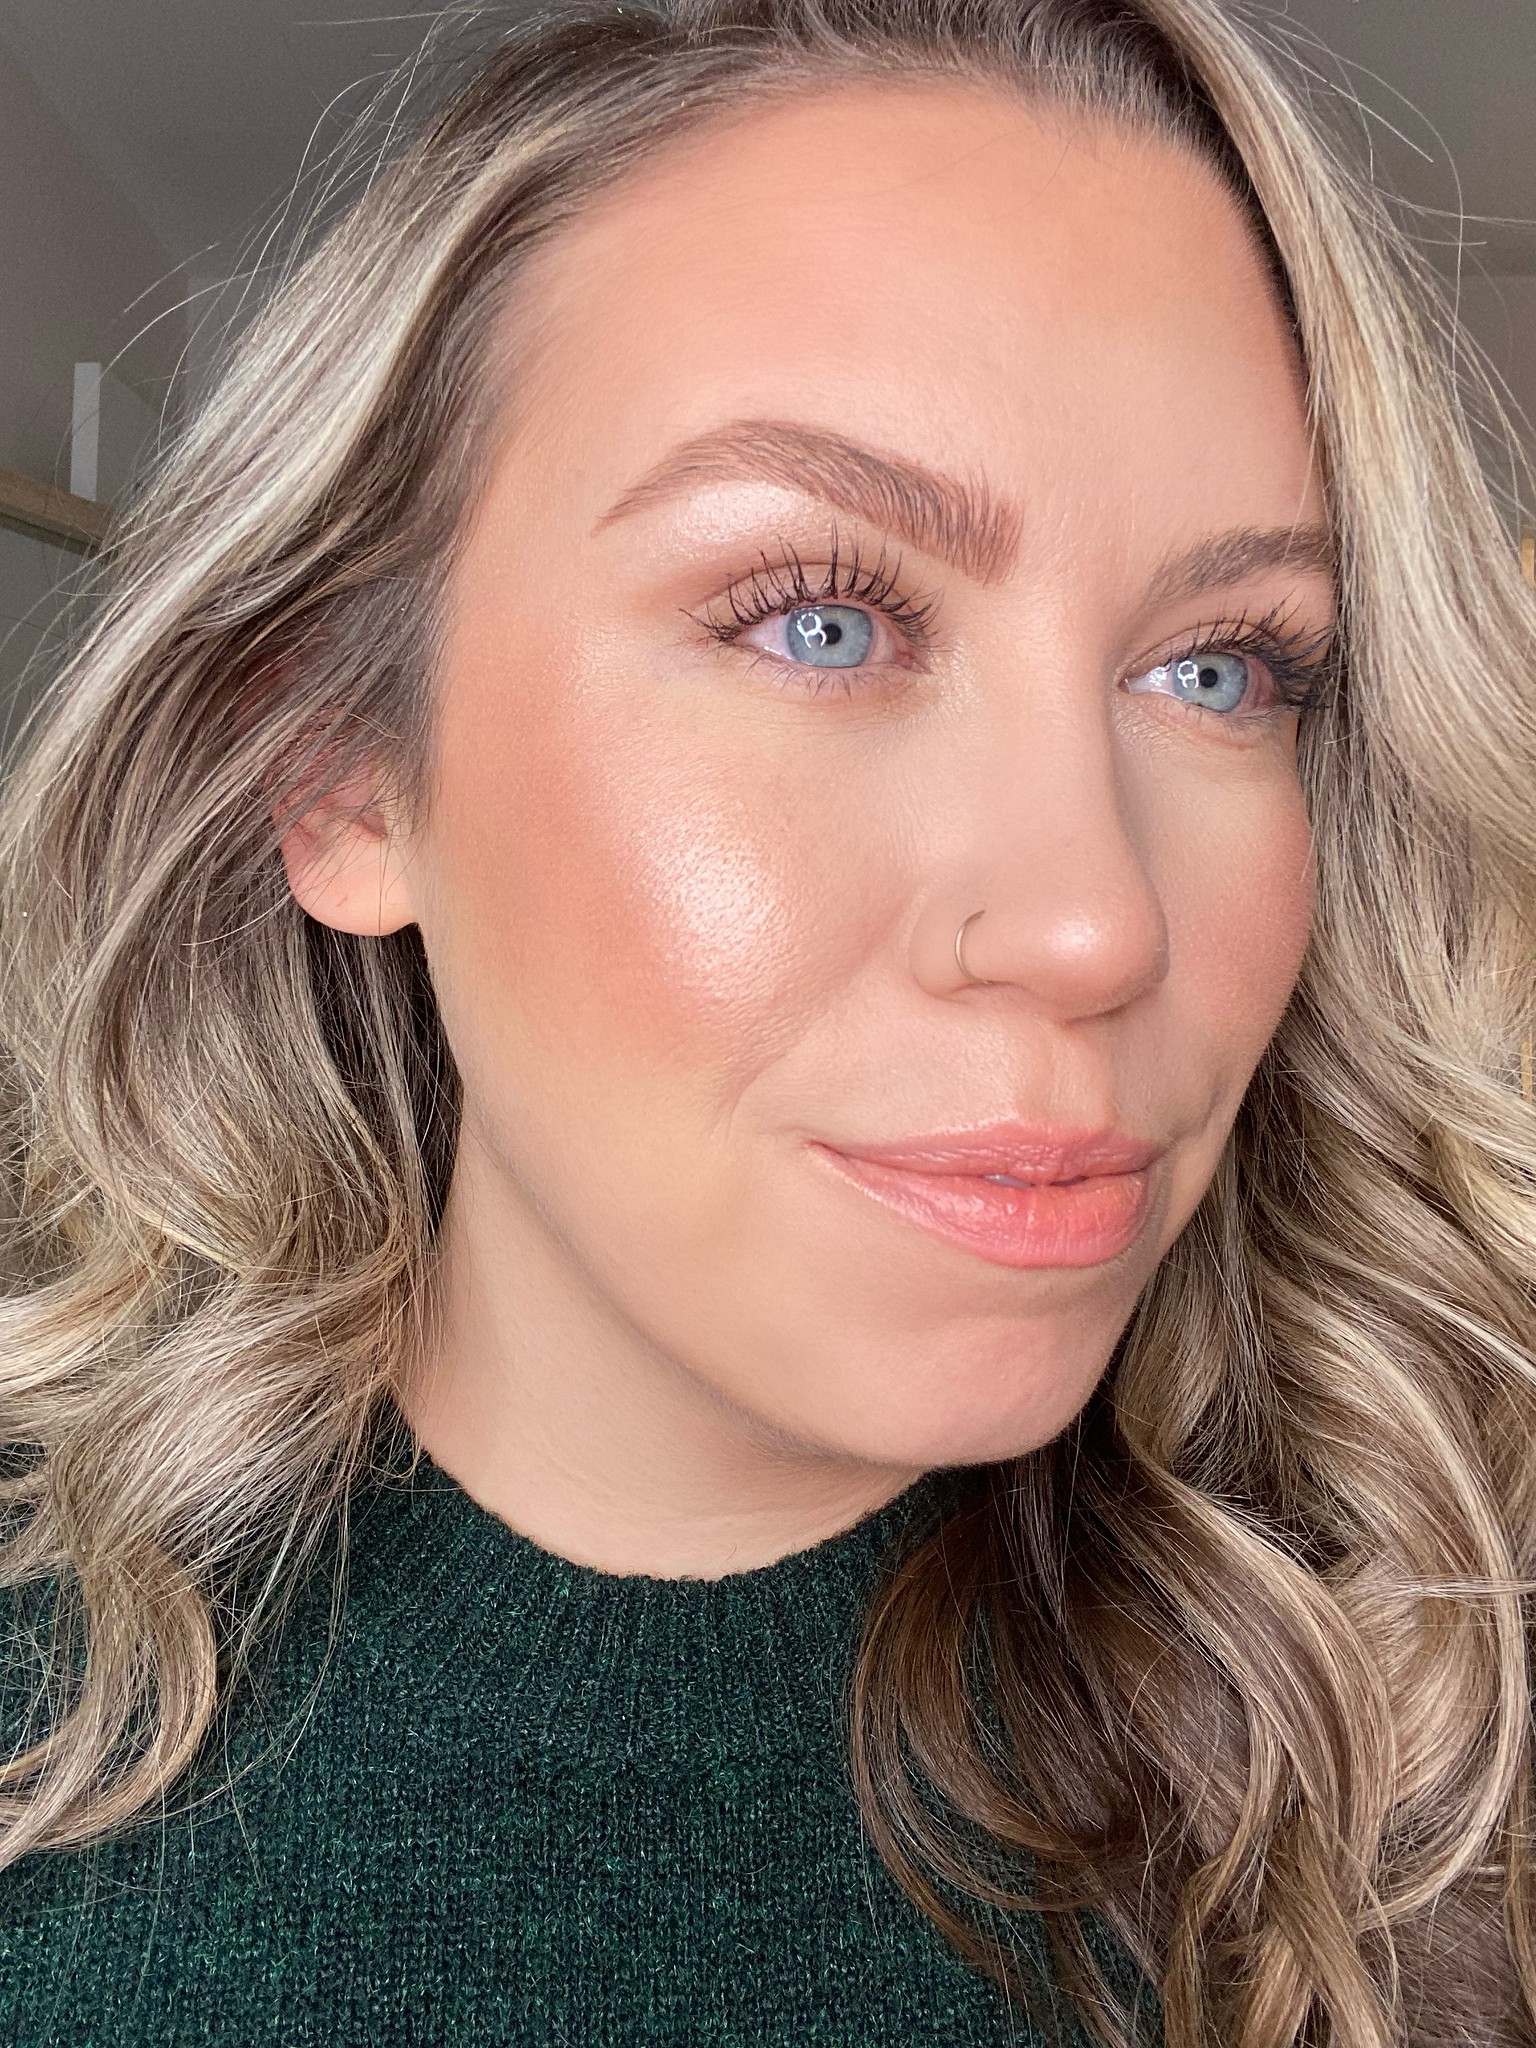
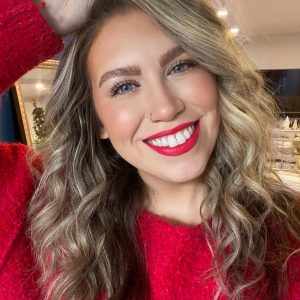
One of the most asked questions I get when I post makeup tutorials (or selfies in general) is “How do you do your eyebrows?” or “Can you do a separate eyebrow tutorial?” or “How can I get perfect eyebrows?” so here I am with my step-by-step eyebrow tutorial!
Before we get started on the actual tutorial I just want to say that it’s taken YEARS for me to get my brows to look the way they look now and it was not without lots of really awkward stages. I naturally have bushy, curly brows that were pretty hard to tame and like every other Millennial girl I over-plucked my brows in the early 2000s and cringe when I see the photos.
Once the “thin brow” stage was over I spent years going to Benefit Brow Bar for eyebrow shaping to essentially have professionals retrain my brows and start creating the shape they are now. And when I say years I mean YEARS, but I think it was during that time when I had to start using eyebrow makeup daily to assist the “growing out” phase that allowed me to get really comfortable doing my own eyebrows and made me so comfortable with it now.

And just as a disclaimer, I’m not a makeup artist and this might not be the “correct” way to fill in your eyebrows (if there is such a thing), but this is what works for me.
Step-by-Step Eyebrow Tutorial
What you need:
- Eyebrow Pencil – My absolute FAVORITE is NYX Cosmetics Micro Brow Pencil, I’ve tried literally all of them on the market and without fail go back to this one every single time. It’s inexpensive (only $10), dual ended (spoolie on one side and colored pencil on the other), the formula is super creamy and long-wear, the super skinny tip allows for you to draw ultra-fine lines AND it’s vegan & cruelty free! (For reference I use the shade: Chocolate)
- Brow Gel – Personally I prefer clear brow gel because with light hair I like to keep my brows not too dark or harsh and I always find that colored brow gel makes my brows too heavy. My current favorite is Patrick Ta Major Brow Lamination Gel and I don’t foresee me changing it out anytime soon. I love that it creates the look of laminated brows and doesn’t budge.
- Concealer – For touch ups, this Ilia one is my current favorite.
- Highlighter – For the finishing touch!
Step 1
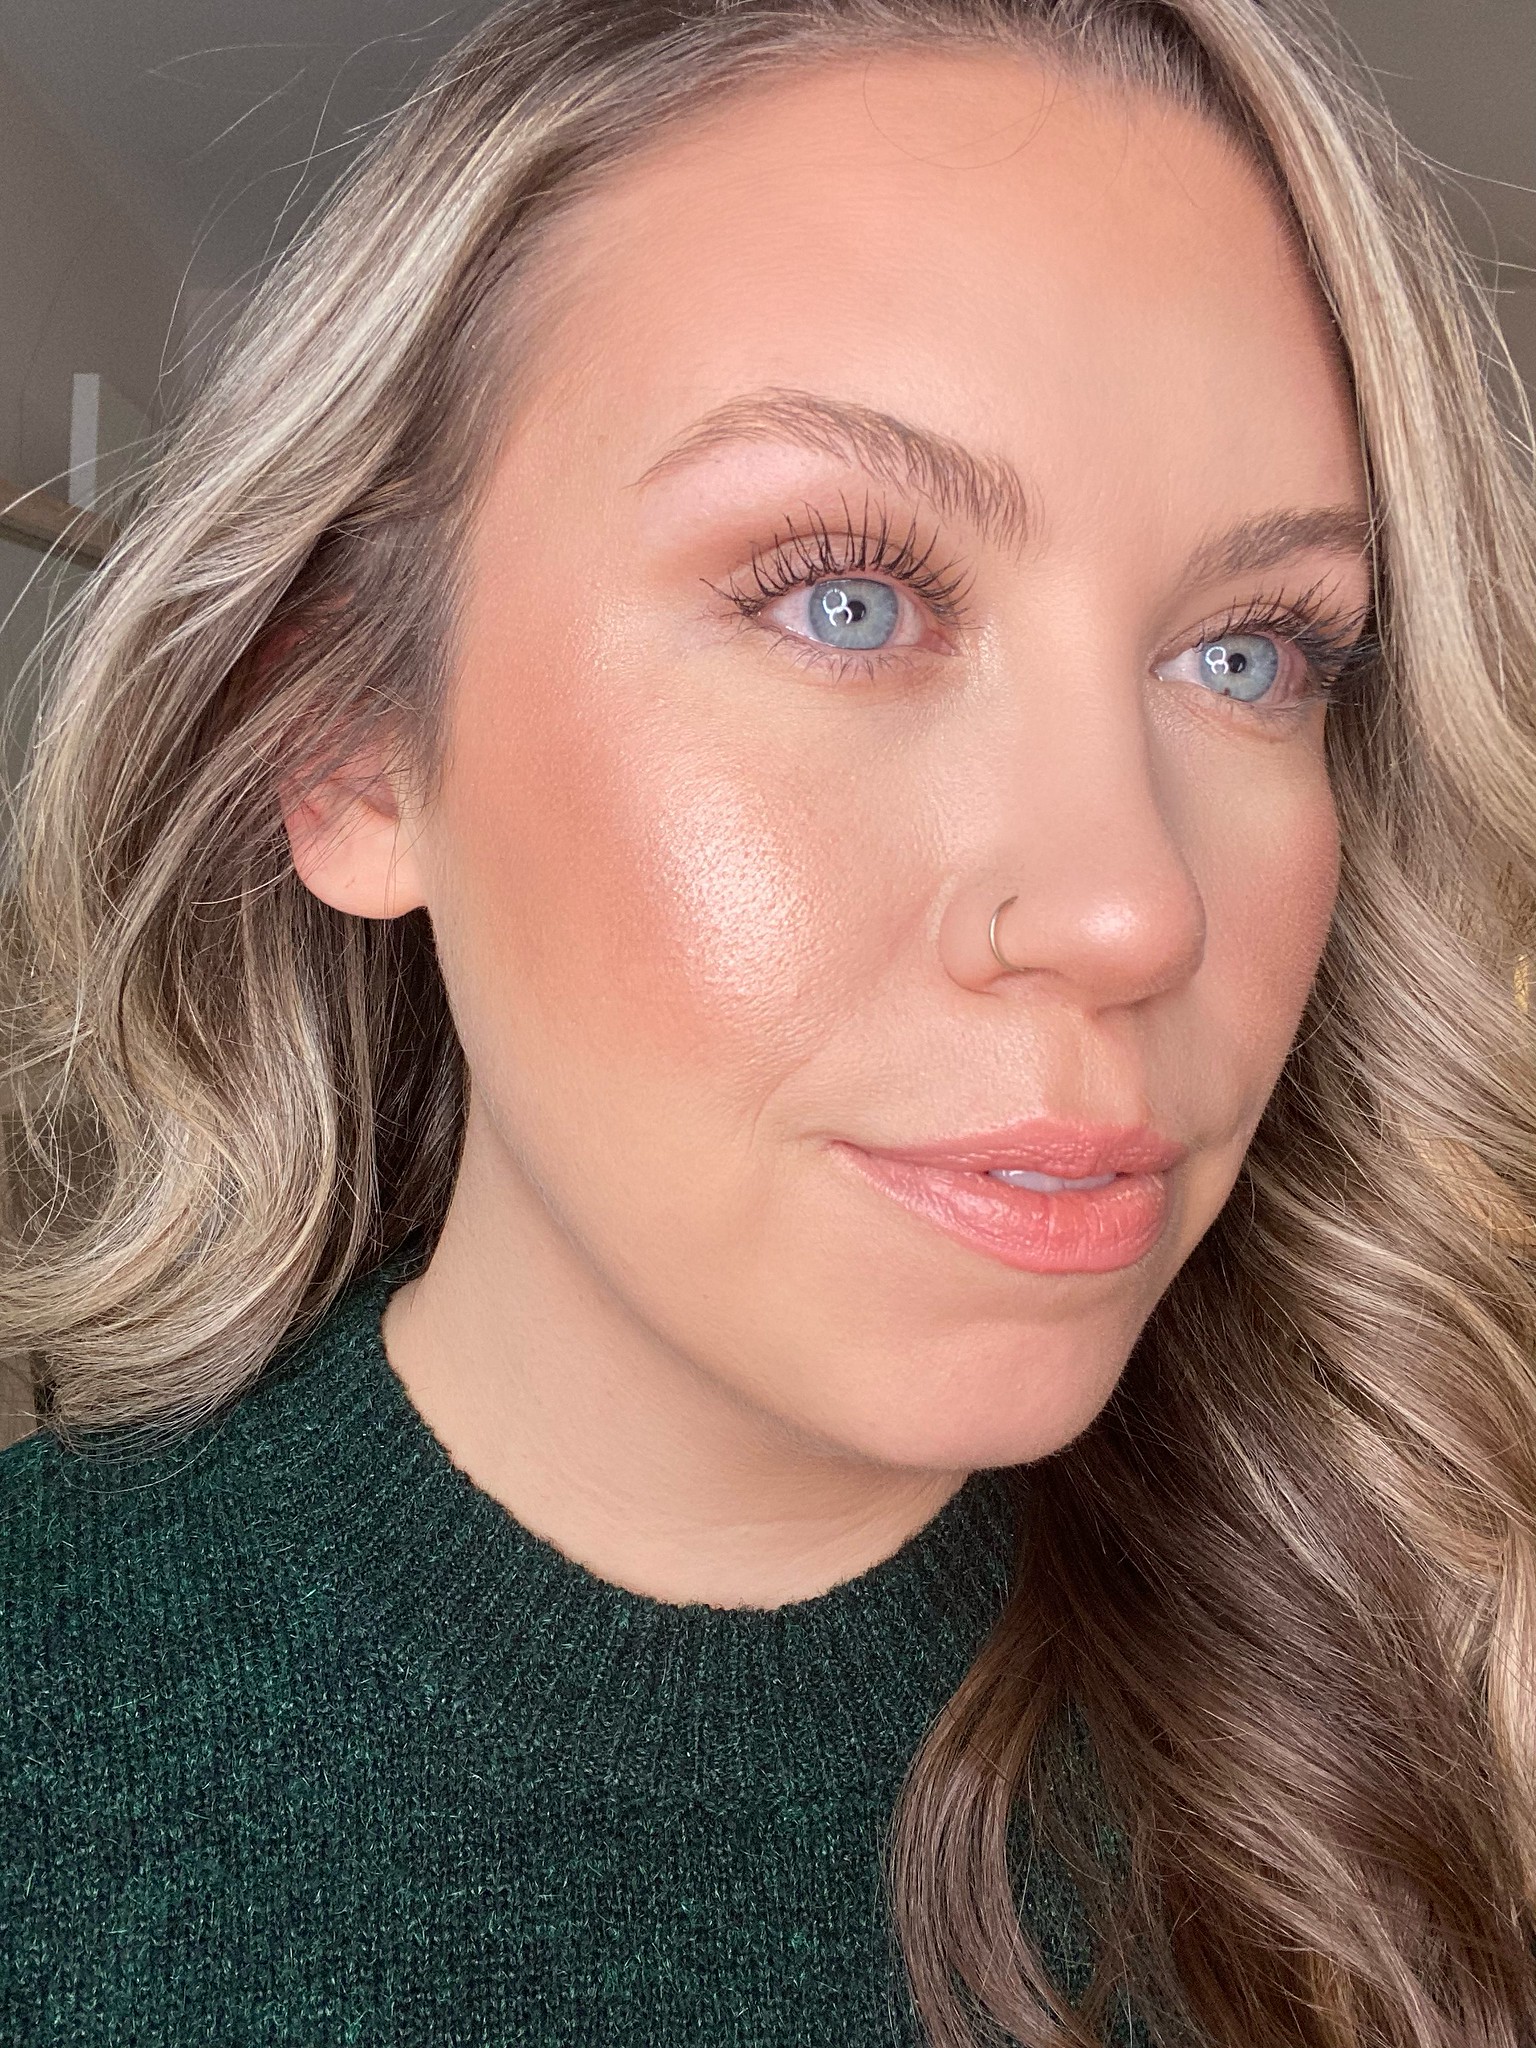
Take a clean spoolie brow brush and brush your eyebrows up and out.
Step 2
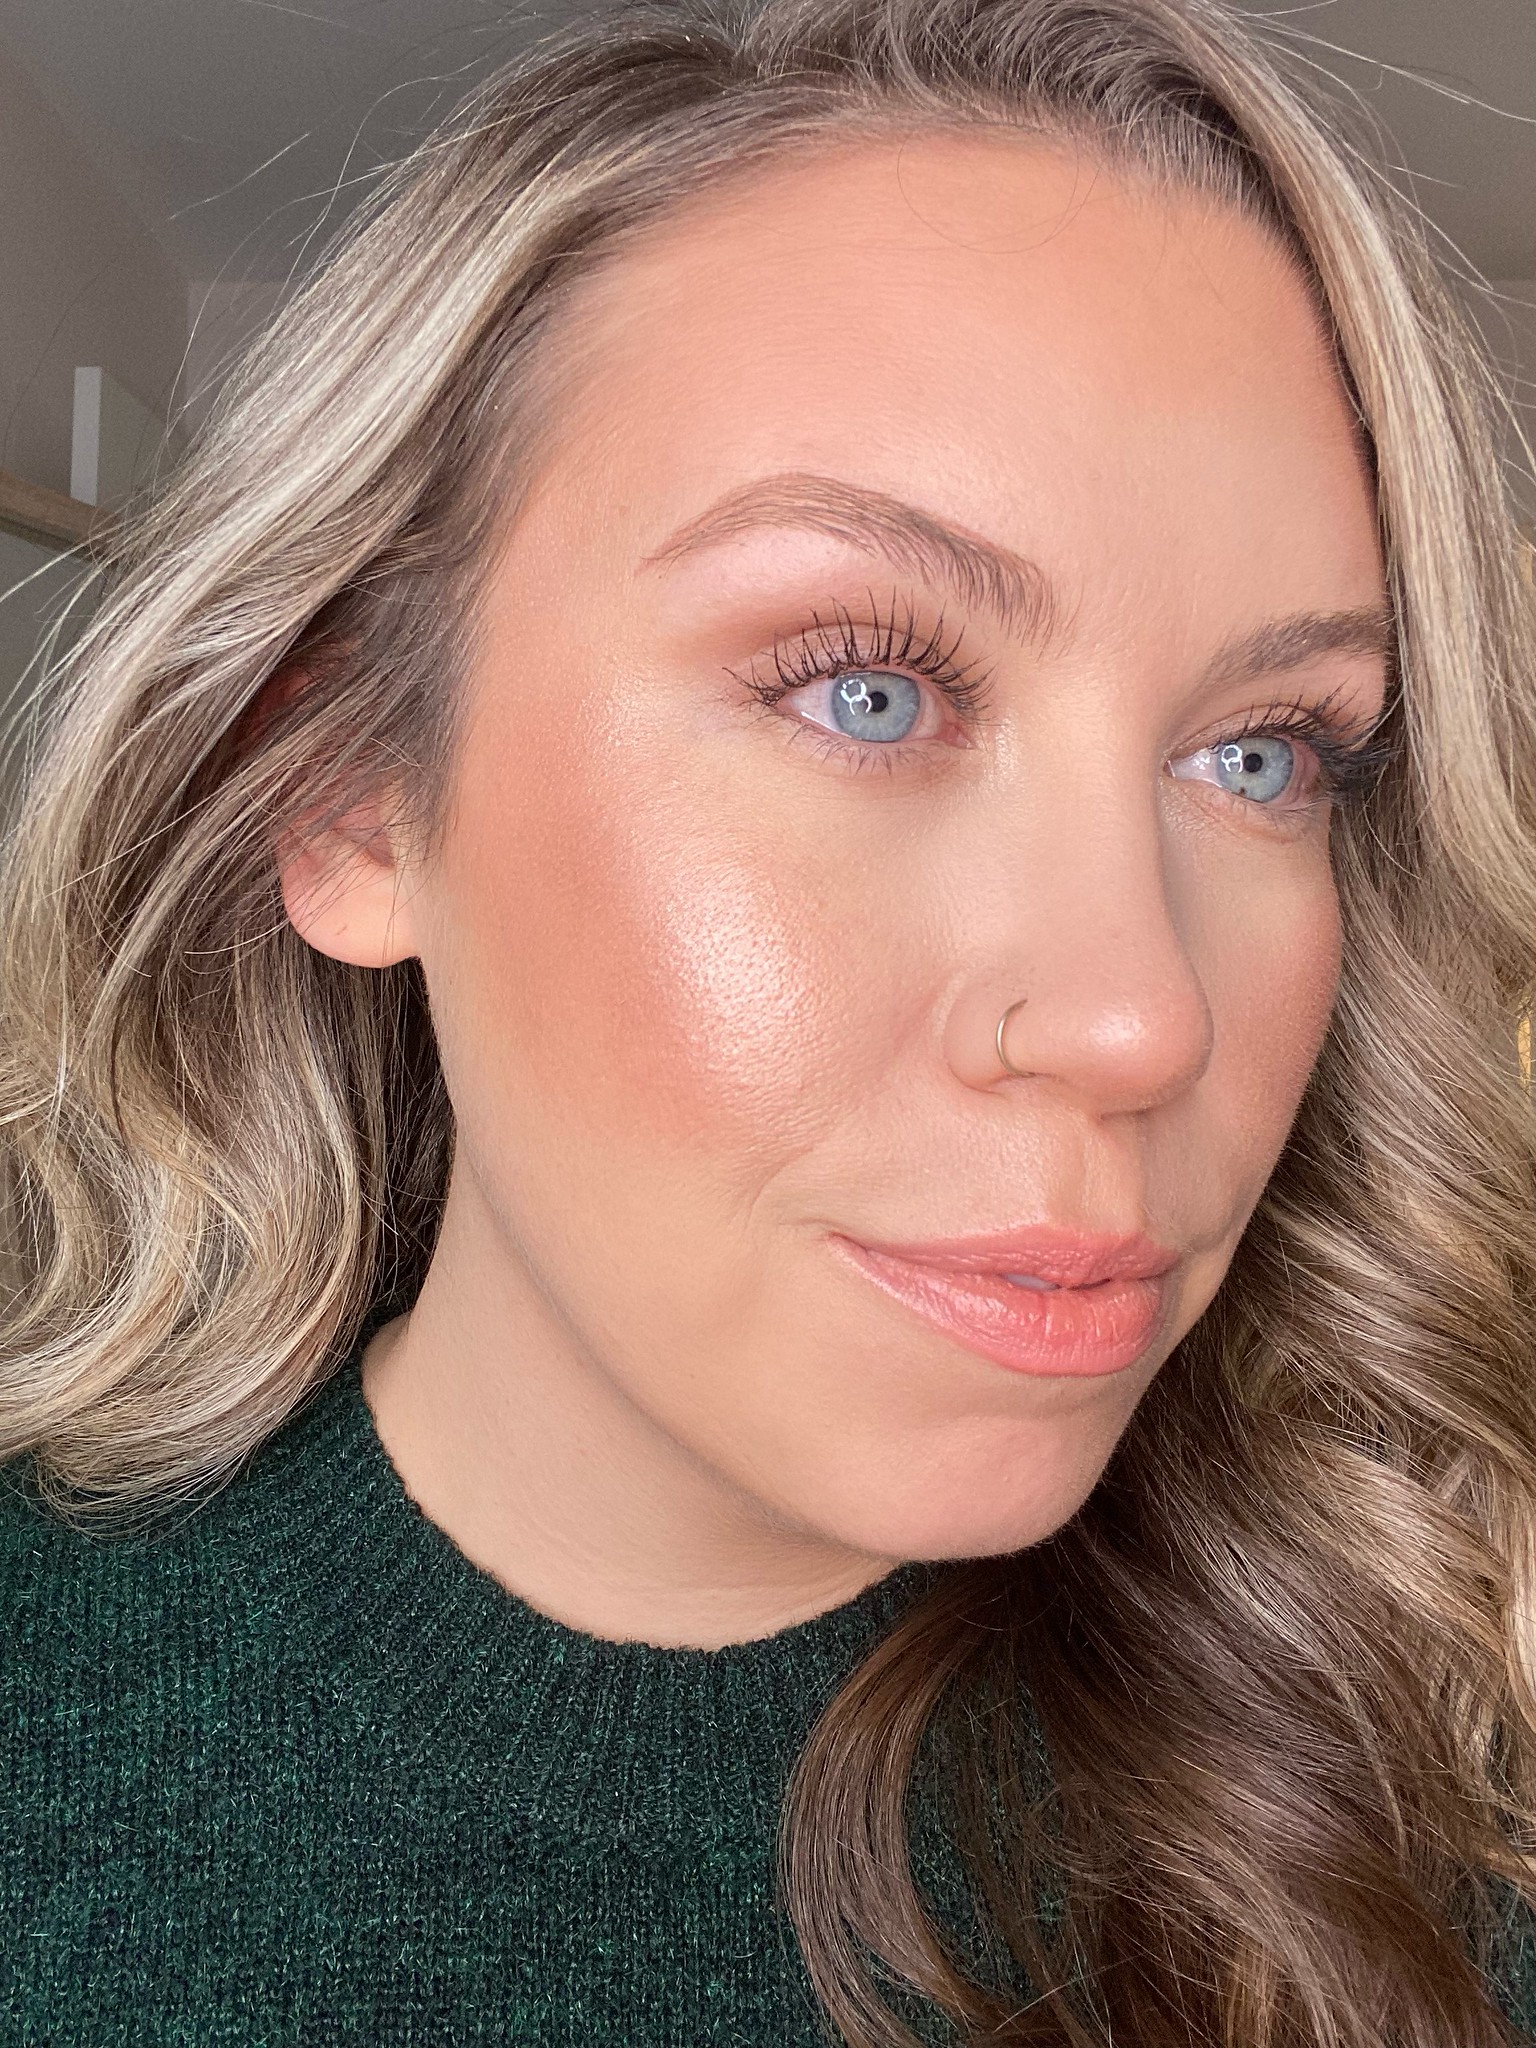
Take your preferred eyebrow pencil, my go-to is the NYX Cosmetics Micro Brow Pencil like I mentioned above, and lightly trace the top of your brow starting from about 1 centimeter from the front of your brow all the way to the tip. The key is to barely press down onto your skin to create a very faint line.
Step 3
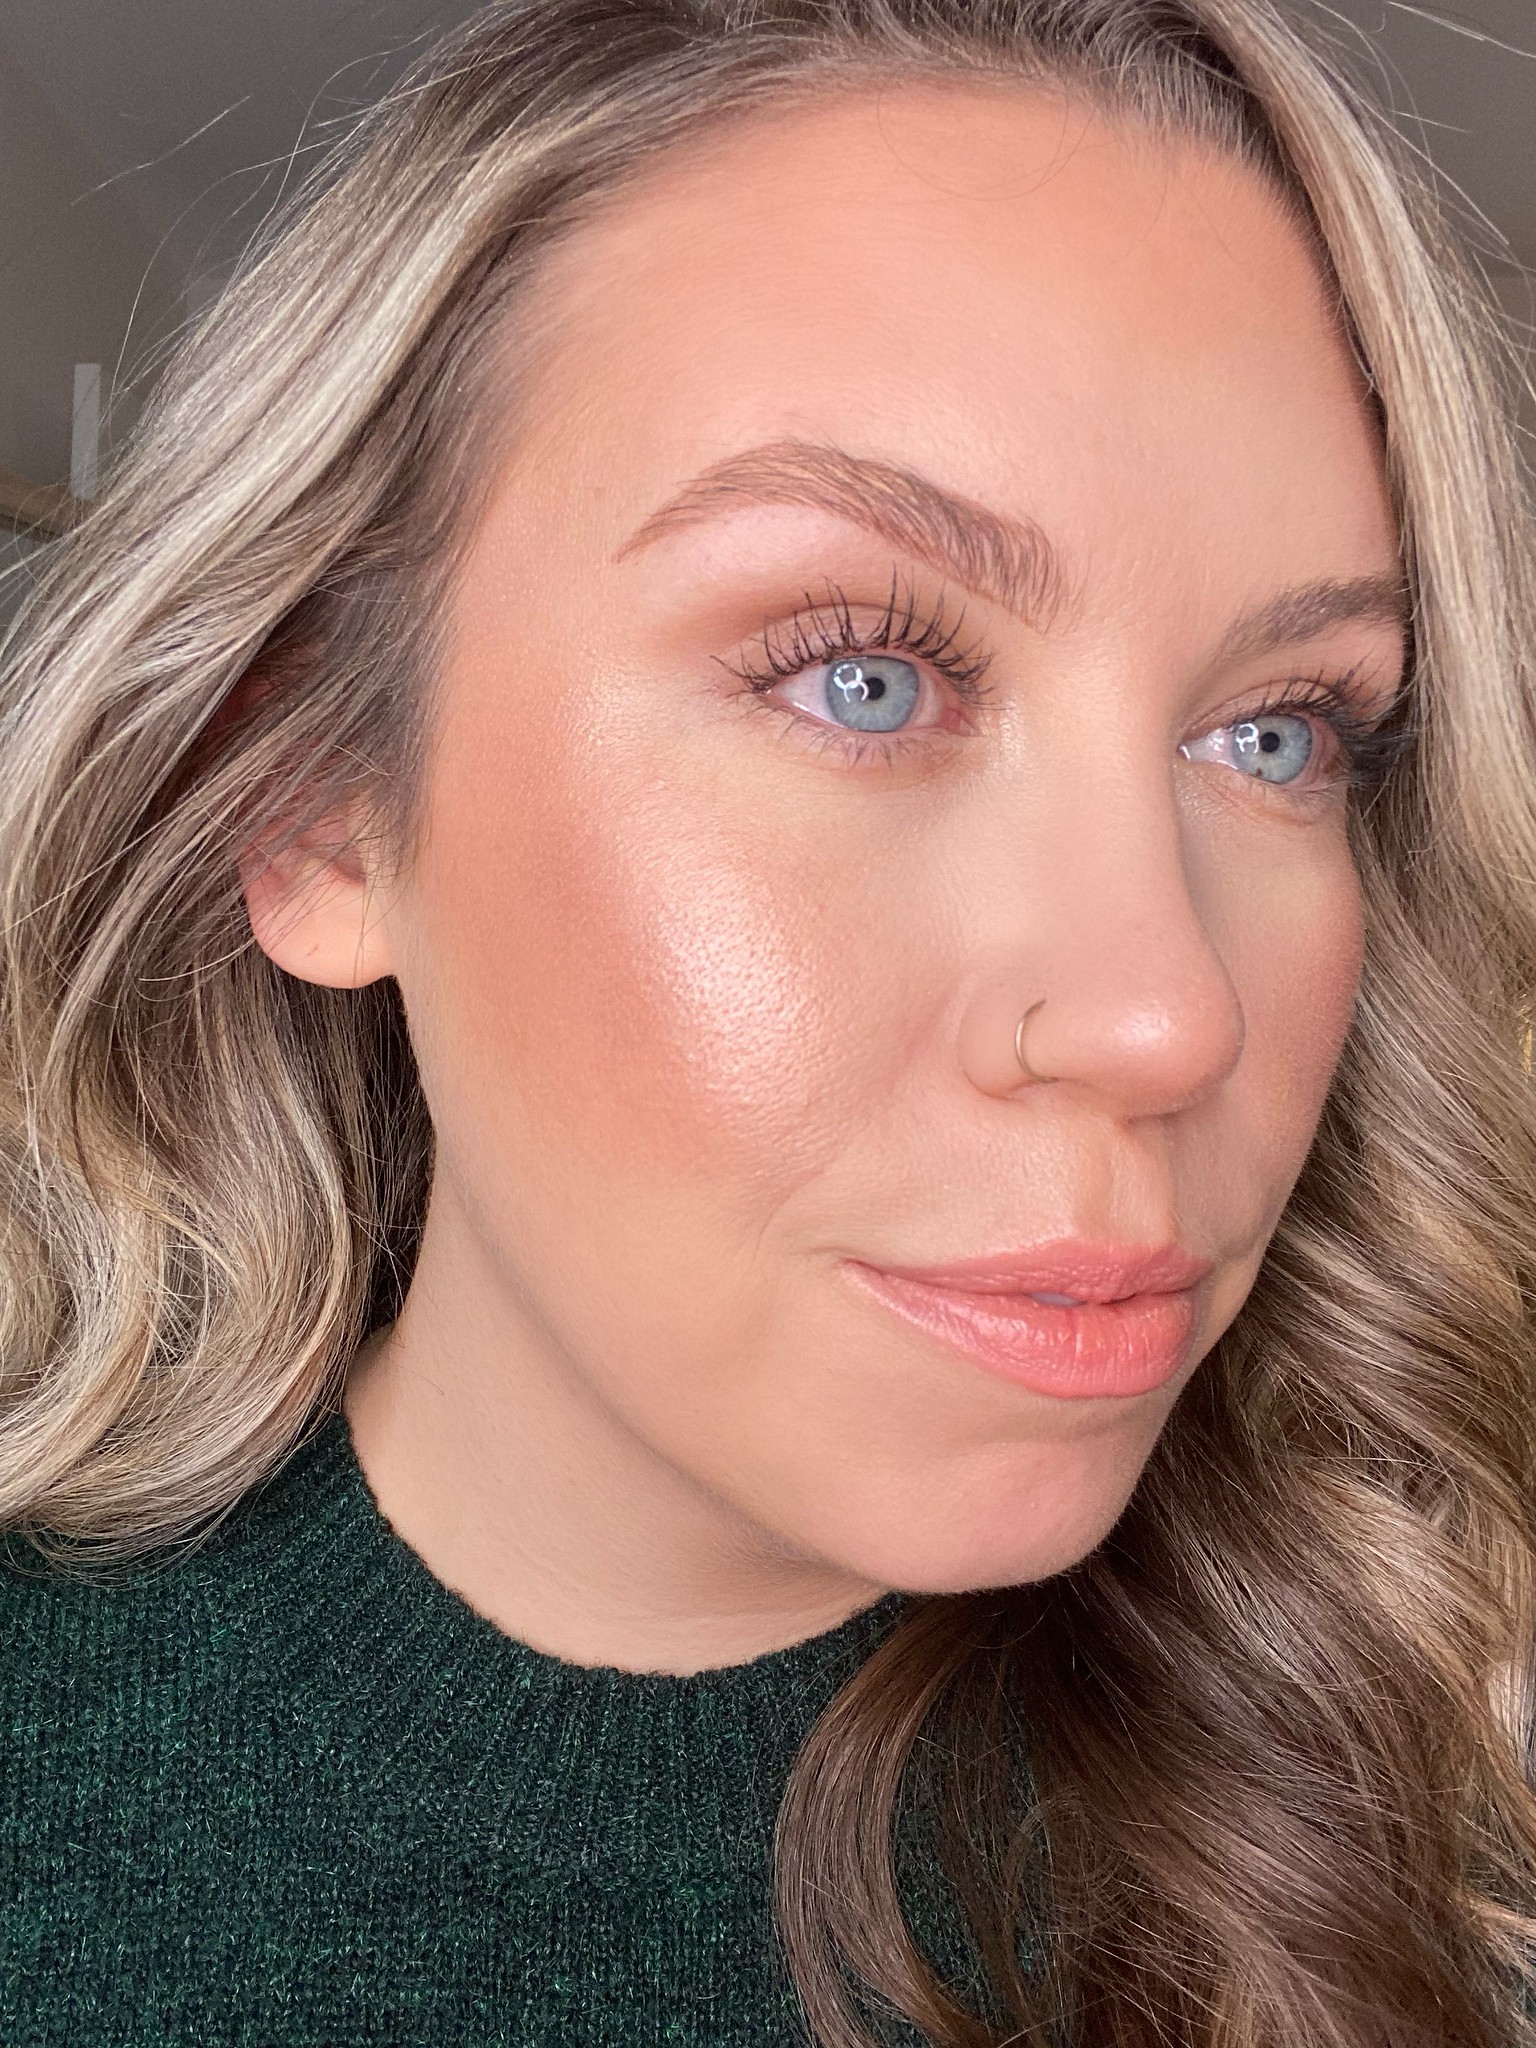
Trace the underneath of your brow from the front all the way to the tip with a very faint line.
Step 4
Carefully draw hair like strokes in an upwards motion at front of brow and wherever else your brows are looking sparse. The key is to use the lightest touch to avoid any harsh or bold lines. Every couple strokes brush through your brow with a clean spoolie to “break up” the color and help create a more realistic look.

Step 5
Once you’re happy with the way both brows look take your Patrick Ta Major Brow Lamination Gel and brush it through your brows from root to tip, then take the back of the applicator and press your brows into place, “laminating” them into the desired shape.

Step 6
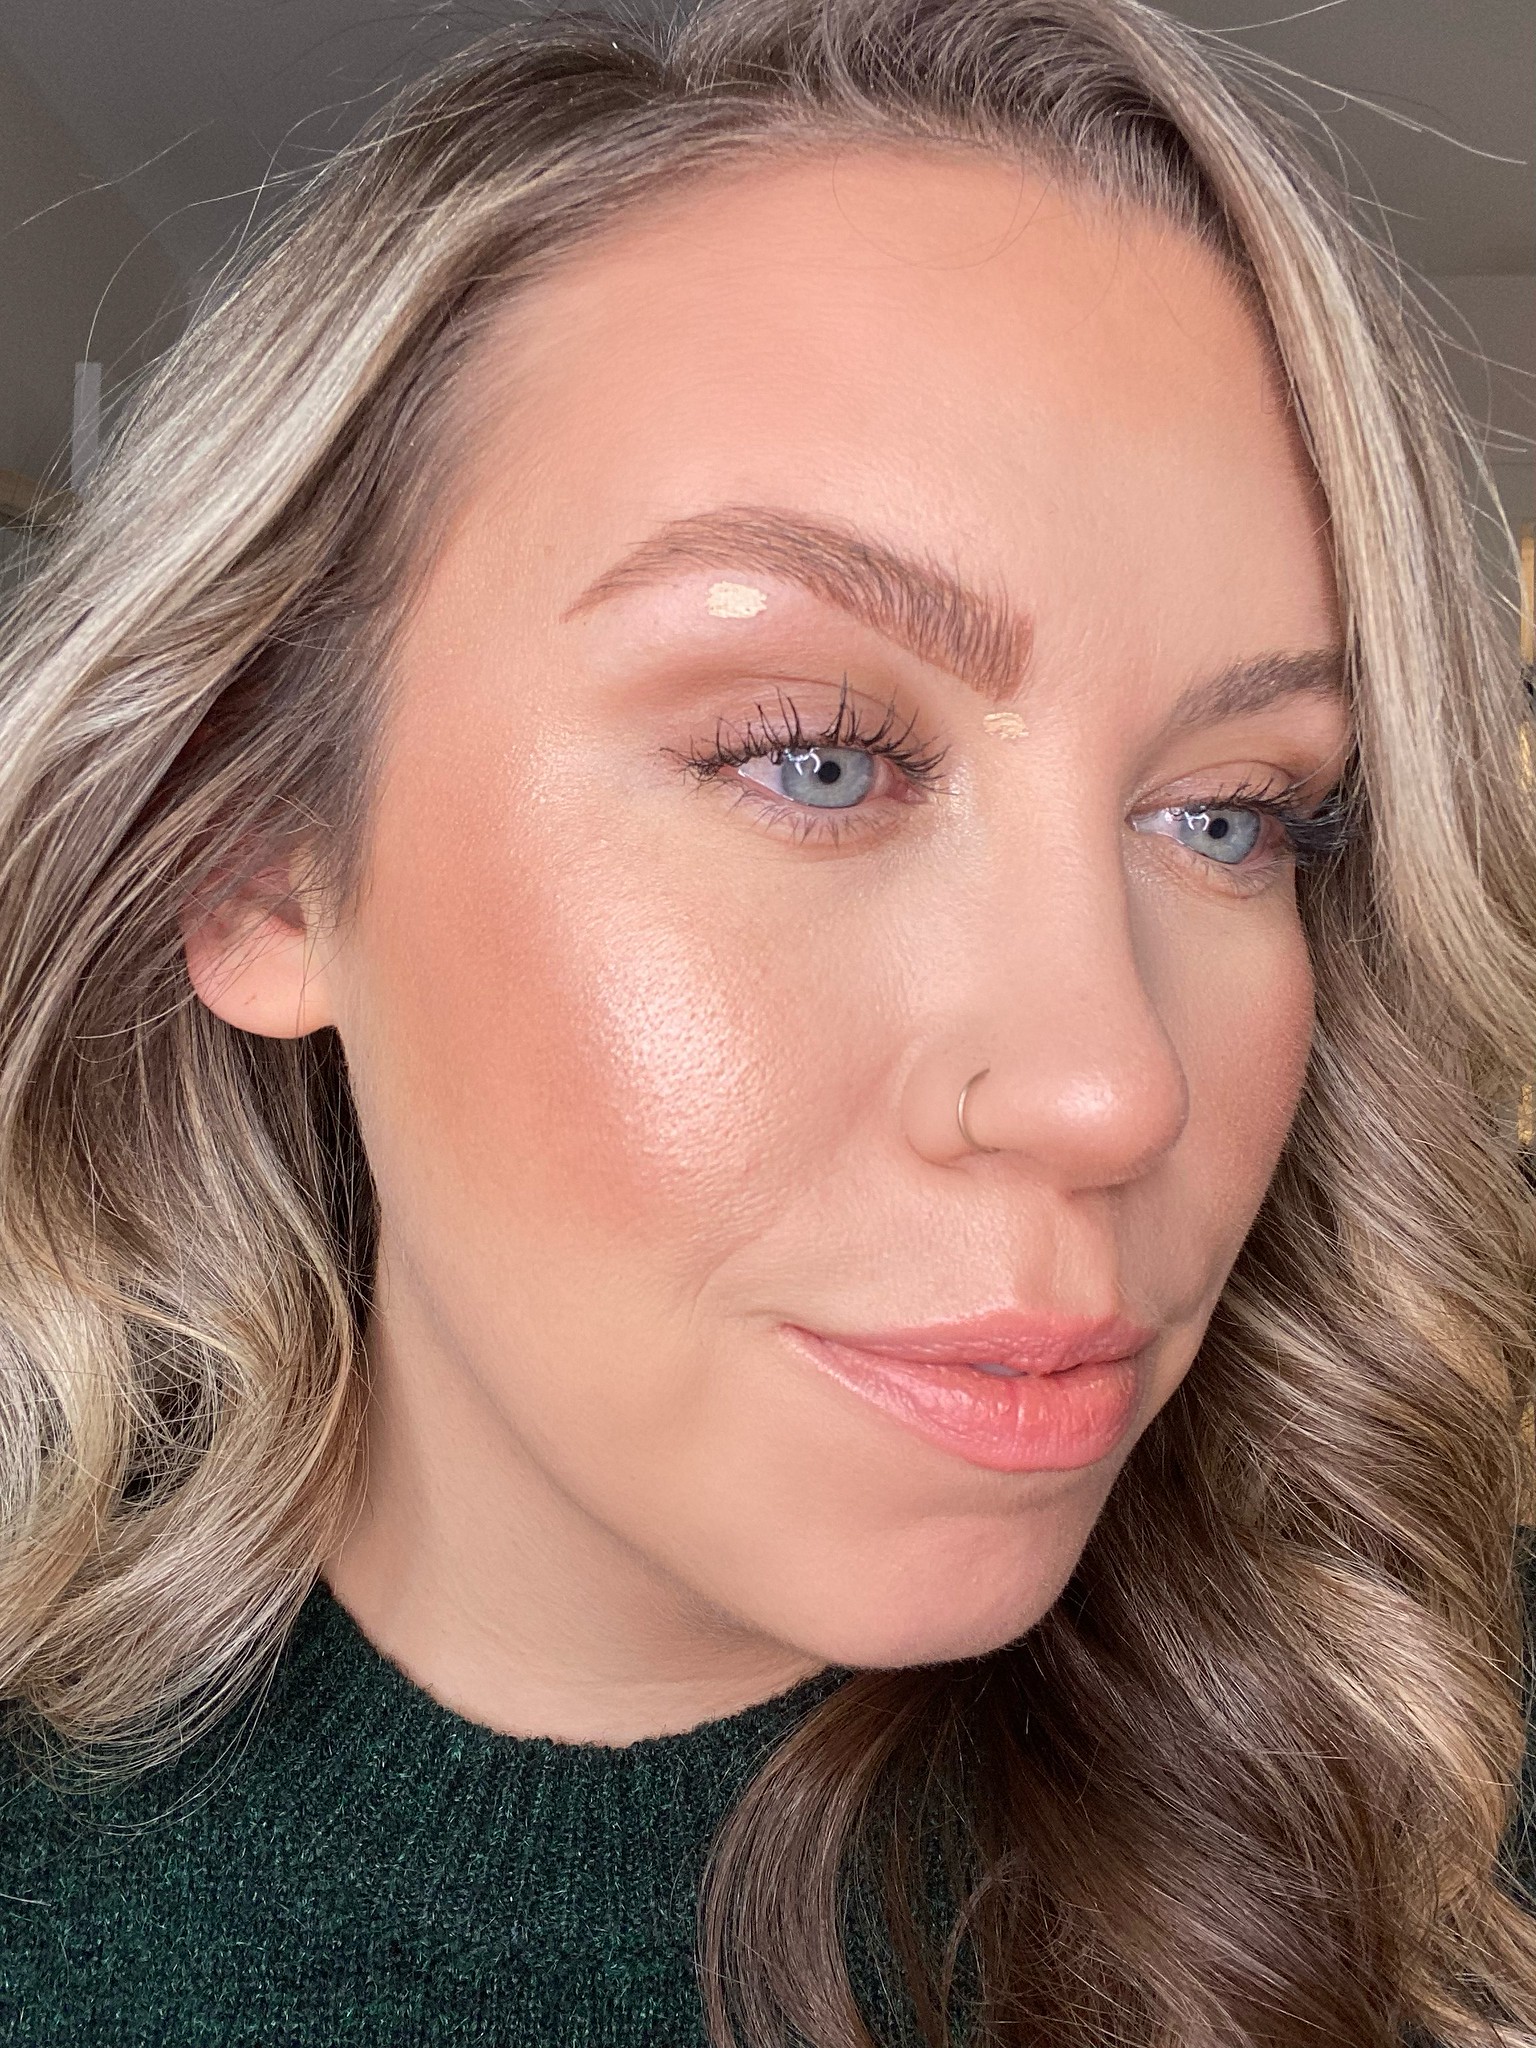
Clean up around your brows with a little bit of concealer and a concealer brush, then finish with a tiny bit of highlighter under your arch!
A FEW TIPS TO KEEP IN MIND:
- I suggest starting your brow journey by going to a professional so they can map out the best eyebrow shape for your specific face shape. My thicker arched brows work for me because they mimic my natural brow shape and compliment my fuller face, but they make be too much for you.
- A rule of thumb to keep in mind when penciling in your brows is that they should start in line with the inner corner of your eye and feather about 1/8 inches towards the center. Then place one end of an eyebrow pencil at the outer side of your nose and the other end at the outer corner of the eye and this is where the brow should end.
- And as for brow color, I think it really depends on your preference. When you have darker hair your brows tend to match your hair color exactly, but with lighter hair our brows tend to be a shade or 2 darker than our hair.
PIN MY STEP-BY-STEP EYEBROW TUTORIAL FOR LATER:

Looking for more beauty tutorials? Check out my latest hair, makeup, nails and skincare posts!




Leave a Reply