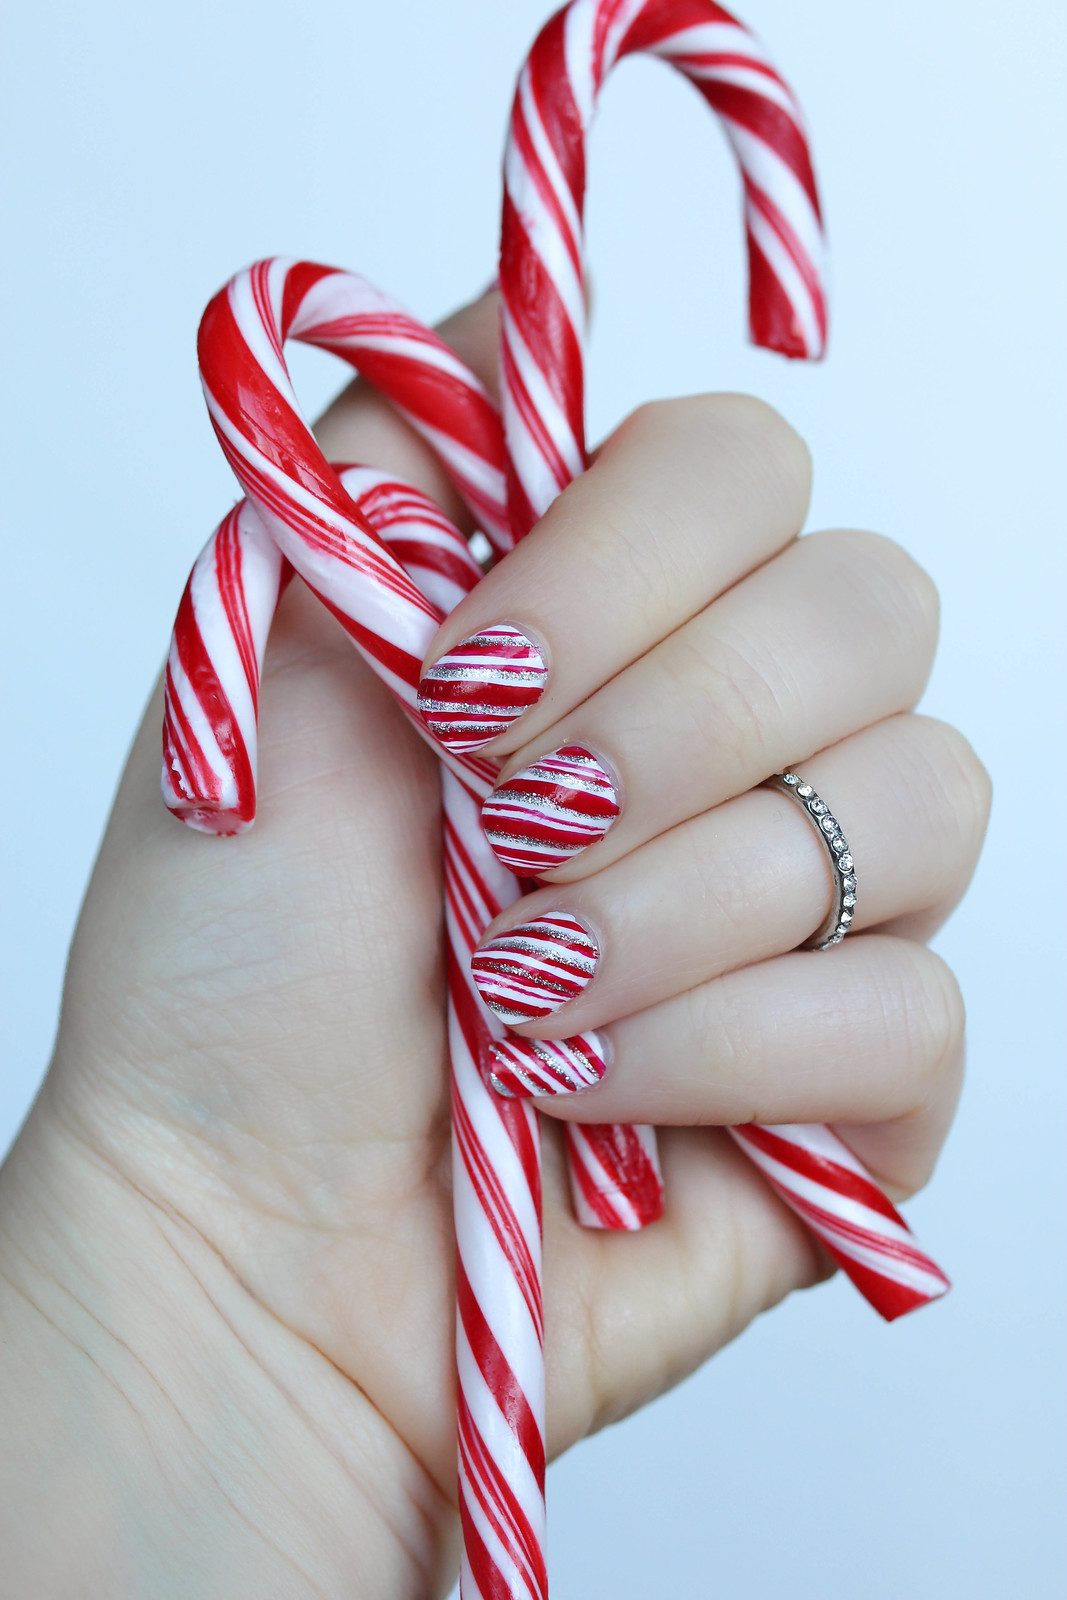
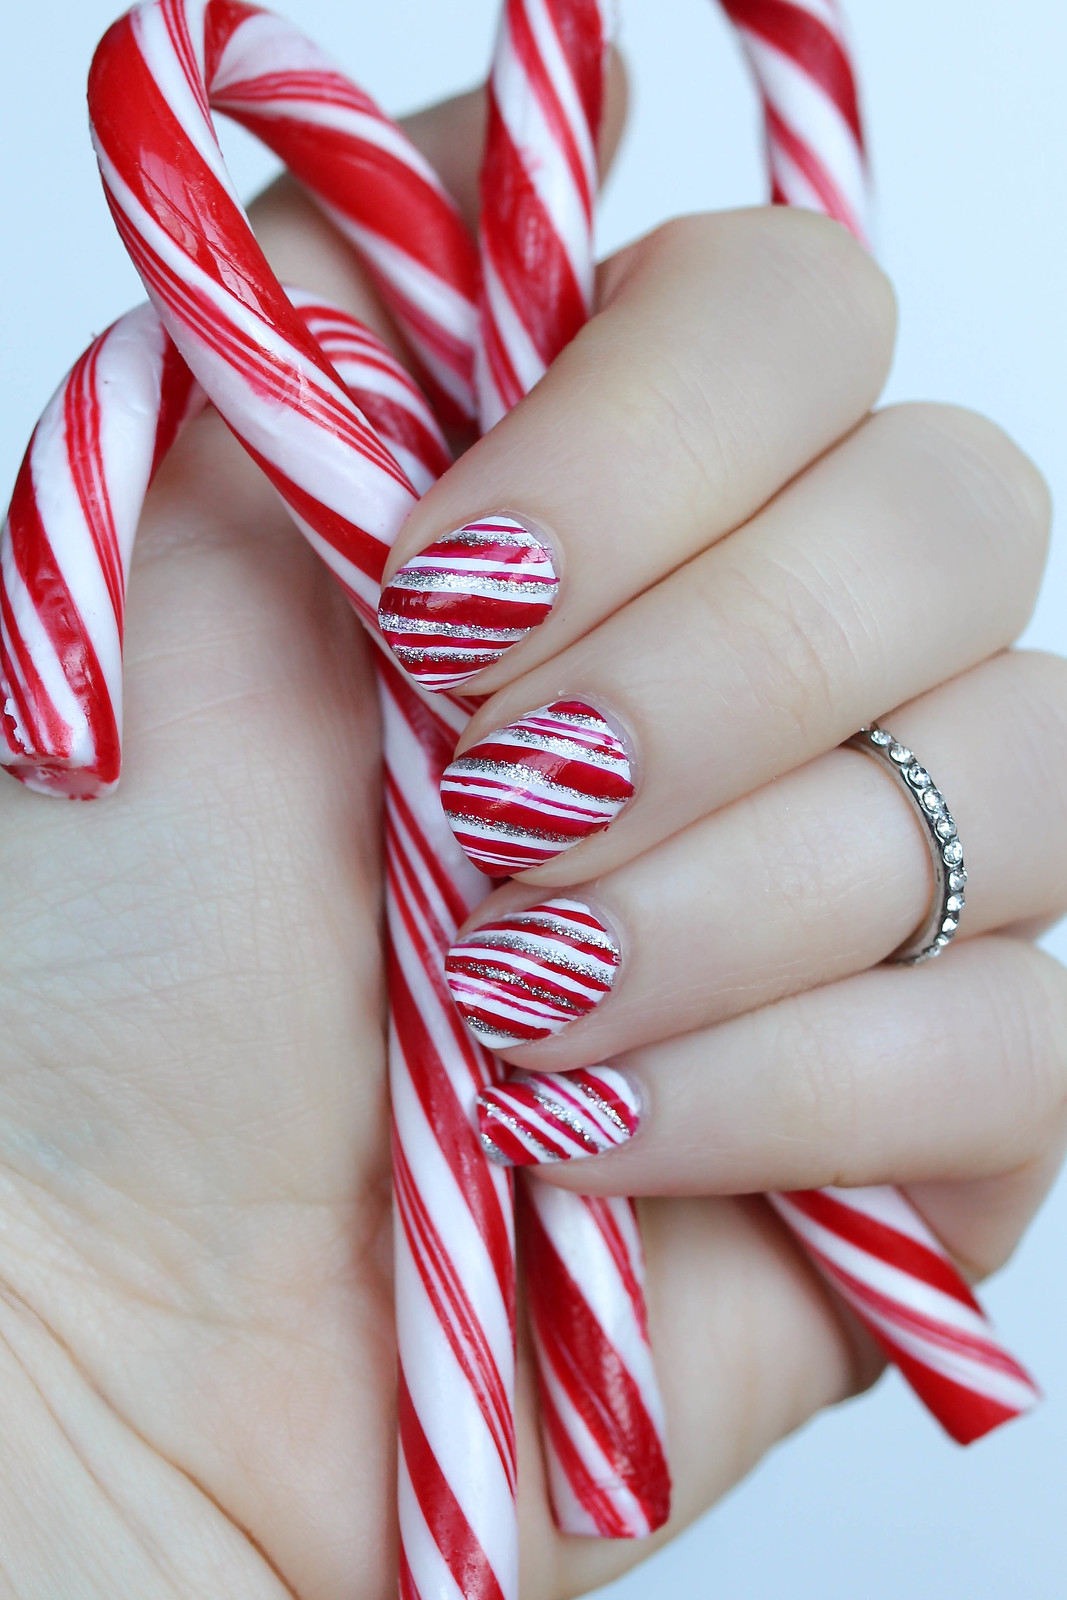
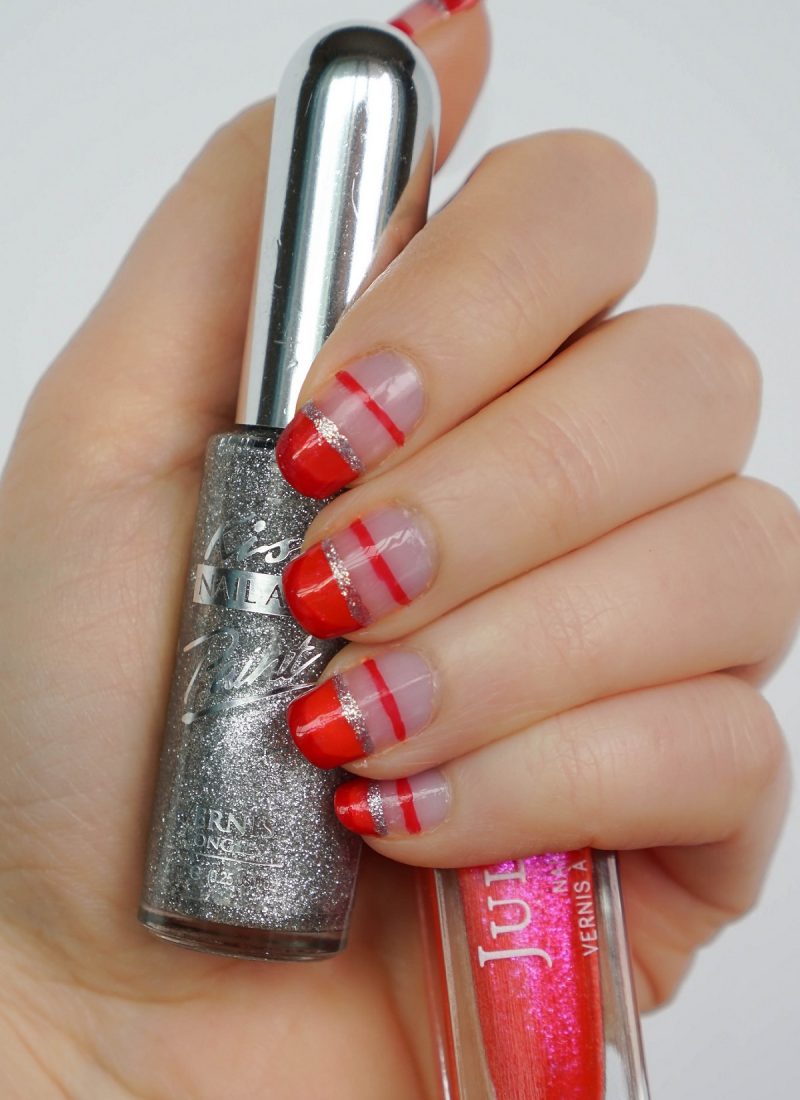
So I was going through all my past Holiday Nails posts (you can see them all in the Holiday Nail Art drop down on the top of my blog) and I realized I’ve never done a full candy cane manicure! I’ve included some candy cane-esque stripes in other manicures, but I was long overdue for this one. I honestly thought these were going to be a lot harder to create then they were.
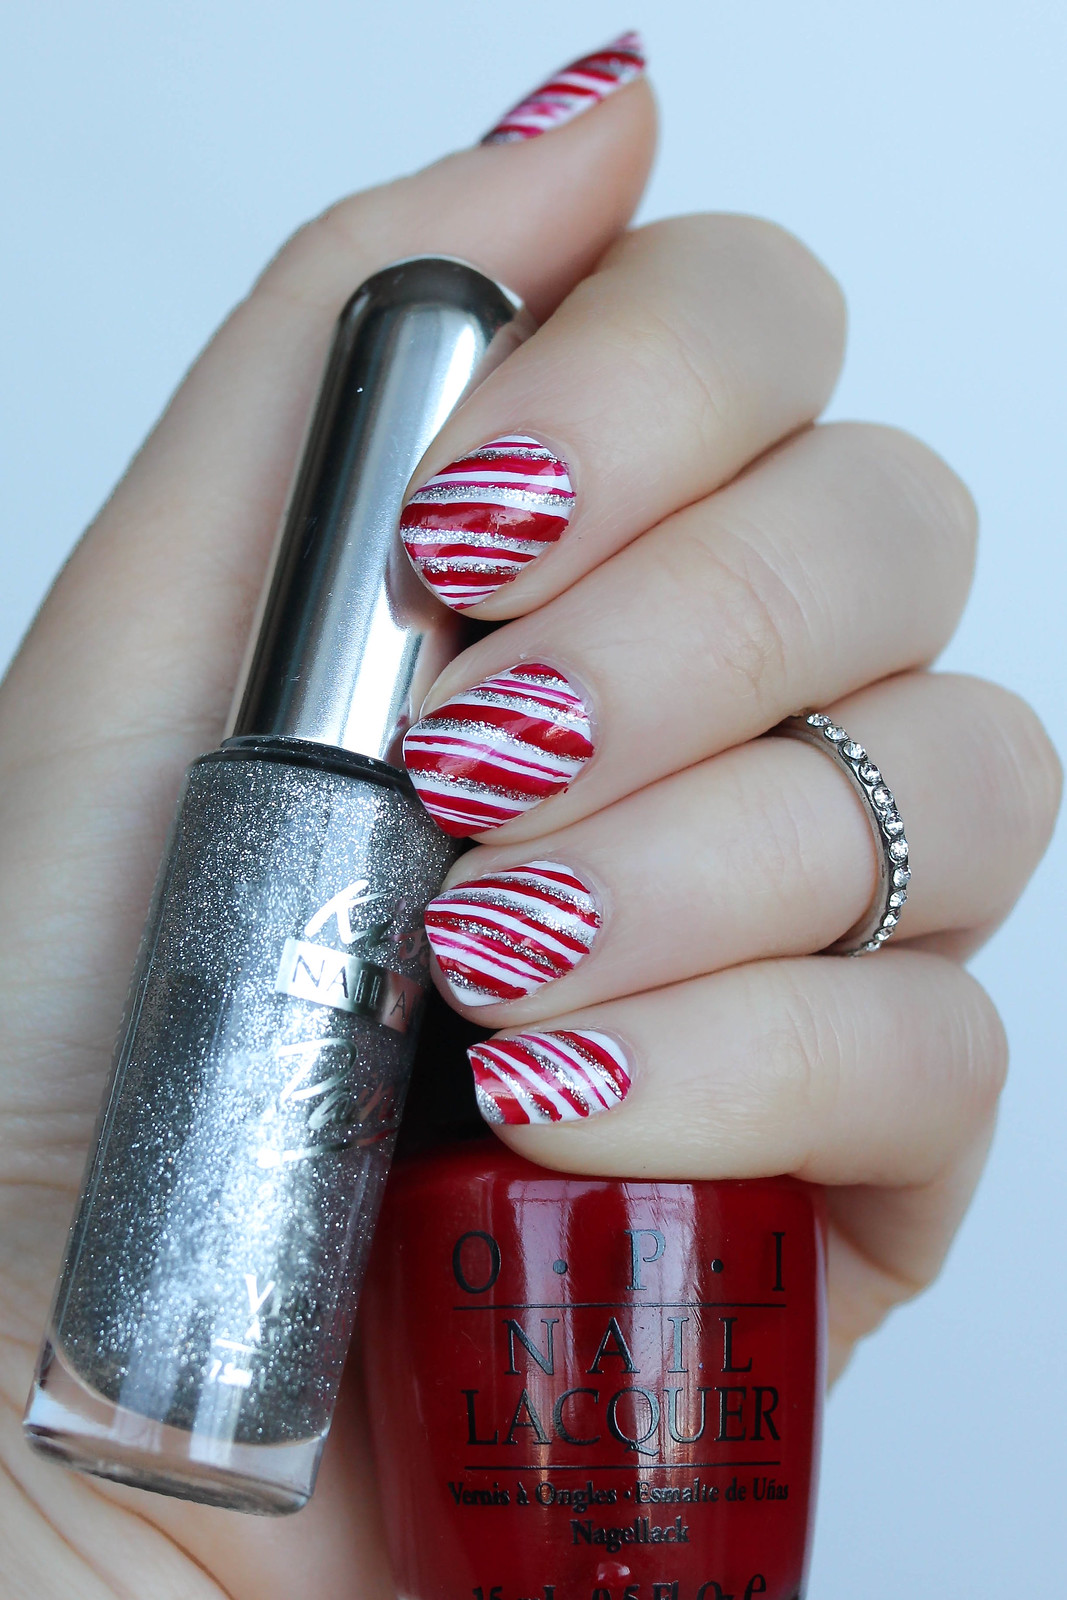
I’ve told you guys multiple times that if you’re interested in doing your own nail art then you definitely need to pick yourself up a set of nail art polishes! I have these from the drugstore (they’re the best in my opinion), and I actually just use brush from an old tube with any of my other polishes when I need to do a design in a color that’s not white, silver or black! I have a whole set of nail art brushes, but for some reason the brushes from these cheap polishes just always work out better for me.
The beauty of this design is that candy canes have stripes of different thicknesses, so if your stripes look different it’s totally fine! Plus I used the silver to hide imperfections I made with the red polish. Initially when I finished this manicure I didn’t think they were the greatest, but people literally stopped me and commented about how great they looked so clearly I did something right! Scroll down for the step-by-step tutorial and if you plan on recreating this Christmas candy cane manicure make sure to tag me in it so I can see!
PIN FOR LATER

PERFECT FORMULA PINK GEL COAT C/O | OPI NAIL LACQUER IN ARCTIC WHITE | OPI NAIL LACQUER IN THRILL OF BRAZIL | KISS NAIL ART POLISH IN SILVER | SECHE VITE FAST DRY TOP COAT





Leave a Reply