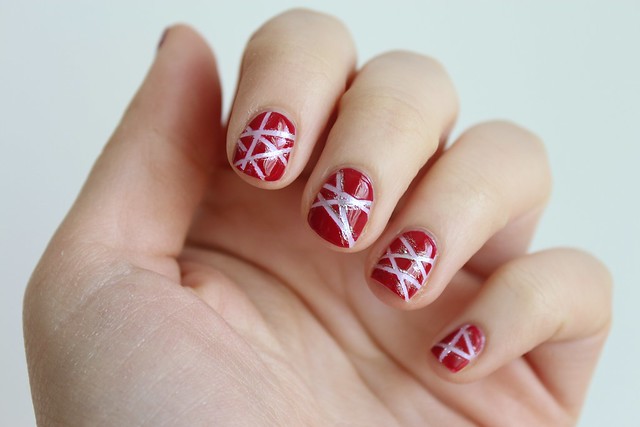
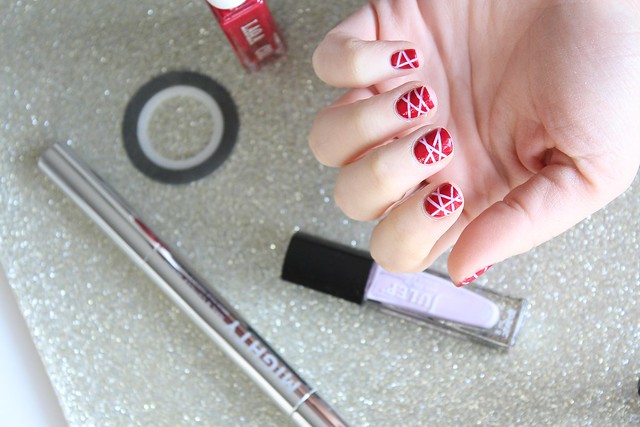
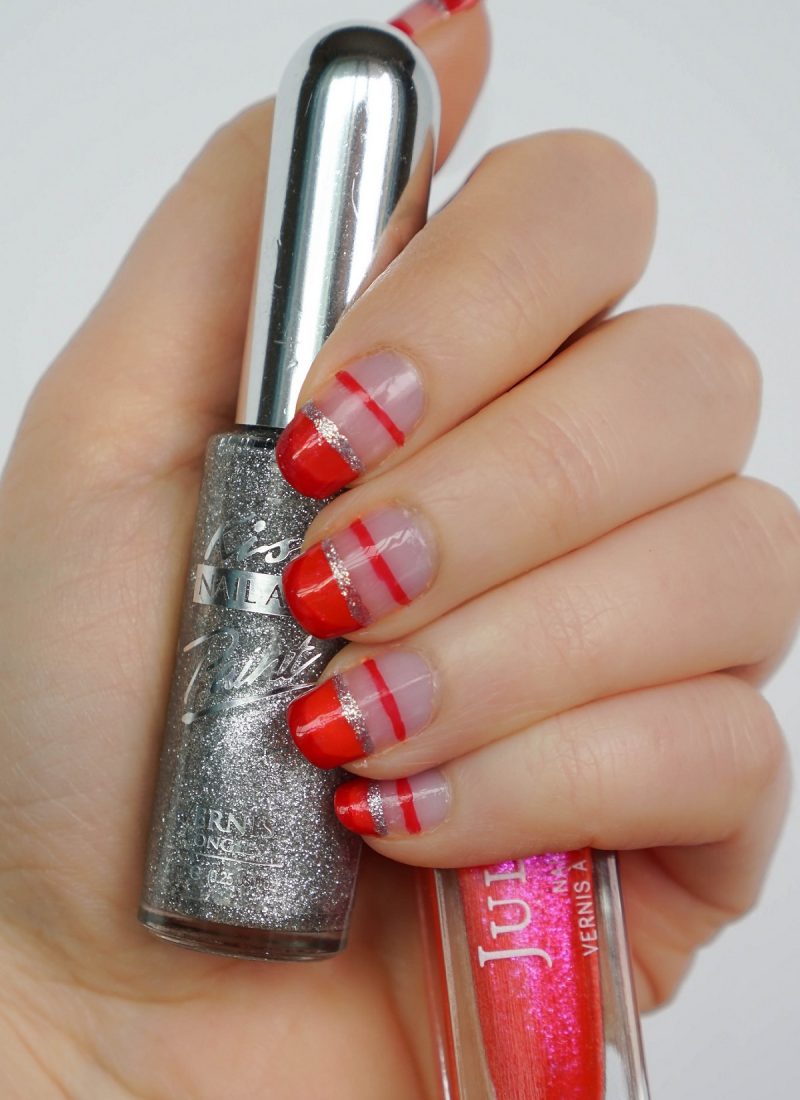
A geometric red & pink manicure just in time for Valentine’s Day Festivities! But I’m doing things a little differently with this nail art post! While I usually explain how to achieve the look with instructions they aren’t always easy to understand, so I’m sharing step-by-step photos that you can follow to recreate this look for yourself!
1. Start by painting your nails one color and let them completely dry.
2. With striping tape (or regular tape) create a design on your nail. Remember the part under the tape will be the part that stays the first color.
3. Paint your entire nail with 2 coats of another color. Let the first coat dry for a few seconds before applying the second coat.
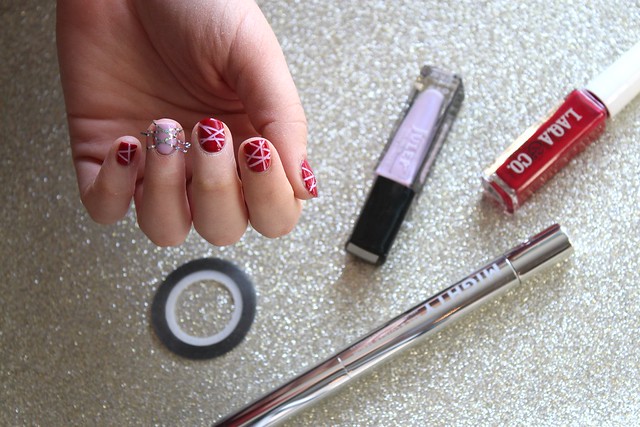
4. Let dry for about 30 seconds and slow peel off the nail, one strip at a time. You can follow up with a little bit of metallic polish like I did after your nails are dry.
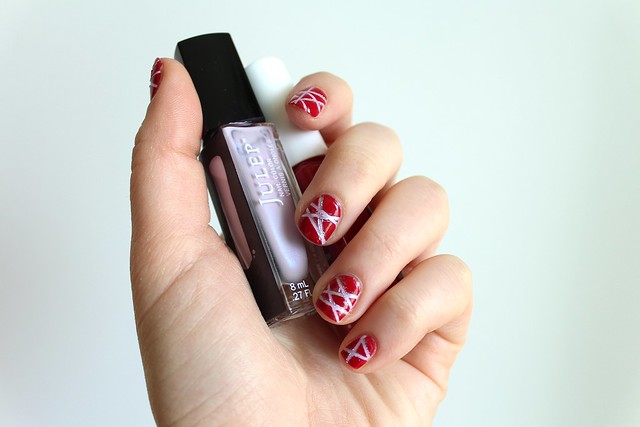
Voila! You’re now the proud wearer of some super chic Valentine’s Day nail art! Who said V-Day is all about hearts & kisses? This mani is seriously awesome, perfect for the single girl that loves to get festive but is over all the run of the mill gushy ideas!
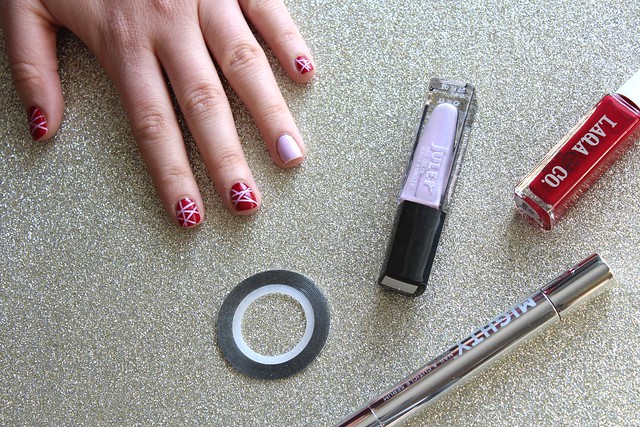
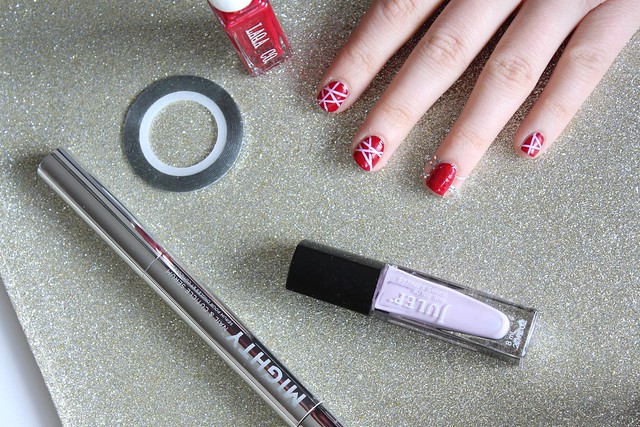
Julep Polish in Simone / LAQA & Co Polish in Greedy Guts c/o / RickyColor Polish in Bridge & Tunnel c/o / Born Pretty Store Striping Tape c/o / Julep Mighty Nail & Cuticle Serum c/o
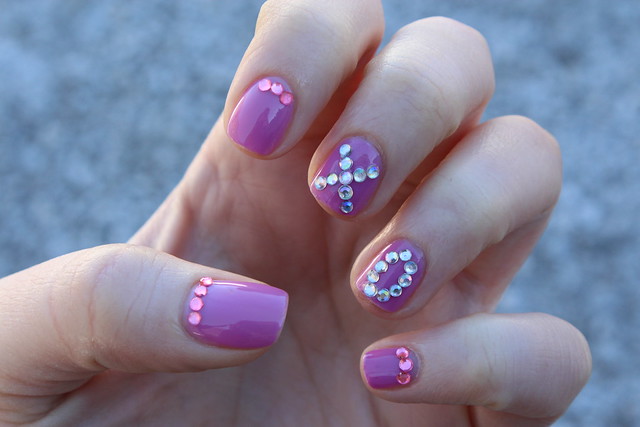
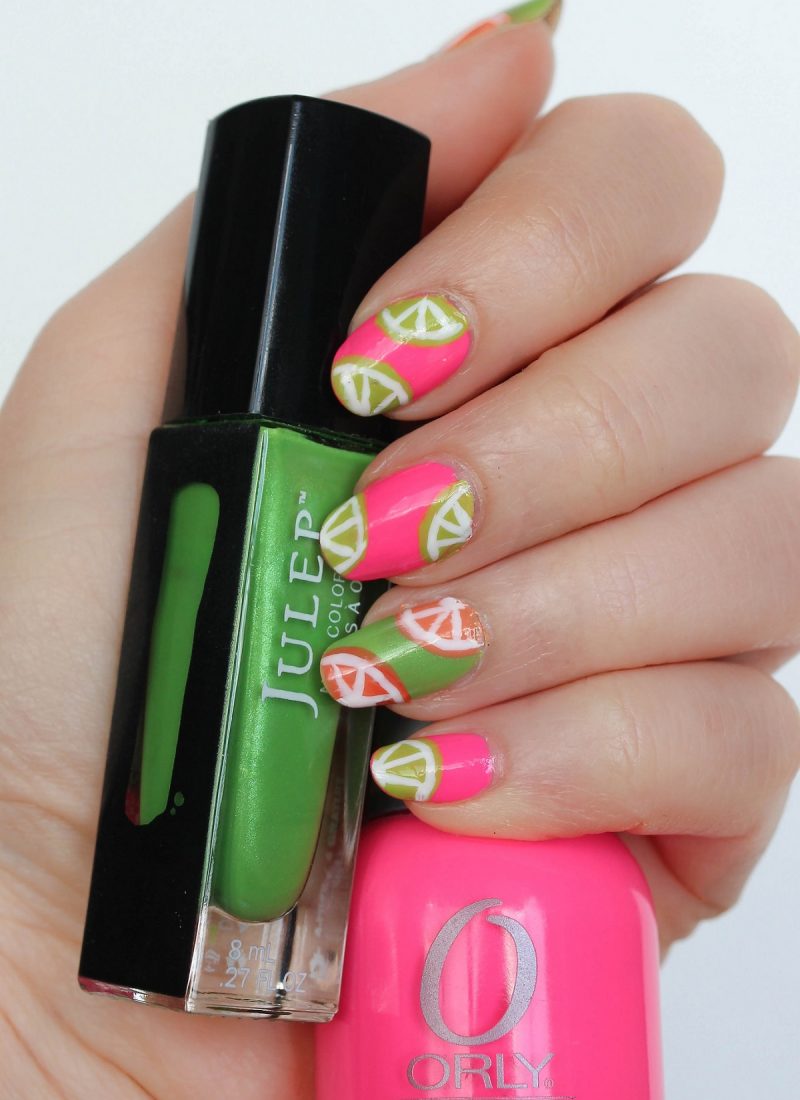
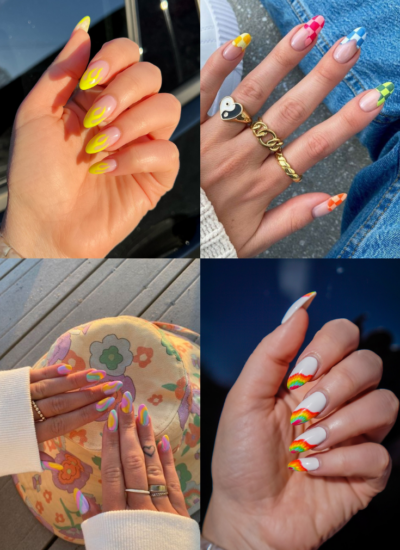
Check out past Valentine’s Day manicures:

& don’t miss another new one next week!
Twitter | Facebook | Instagram | Pinterest


Leave a Reply